Automating YugabyteDB Deployments with Google Cloud Deployment Manager
April 2, 2020
This is the second post in the Getting Started with YugabyteDB on Public Cloud series. In our first post, we covered Automating YugabyteDB Deployments with AWS CloudFormation templates. In this post we will show you how to achieve the same with Cloud Deployment Manager templates when using Google Cloud.
For redundancy across multiple fault domains inside a single region, Google Cloud uses the concept of zones, similar to AWS’s use of availability zones. With YugabyteDB, you can deploy nodes of a single DB cluster across multiple Google Cloud zones because of the built-in zone-aware replication. Loss of any single zone will not cause downtime for your SQL database. YugabyteDB’s distributed SQL architecture is specifically designed for resilience, scalability, and geo-distribution in dynamic infrastructure environments such as VMs and containers.
Google Cloud Deployment Manager Configuration for YugabyteDB
Google Cloud Deployment Manager templates are in plain-text YAML format. If you open the sample YAML file in a text editor, you can review the defaults and proposed configuration, as well as modify them to suit your organization’s security and geographic deployment profile.
- region: This will be the base region for the YugabyteDB nodes, and their network and firewall rules. While this is currently set for ‘us-central1’, you can edit this for your desired region. You will need to replace each declared ‘us-central1’ region in the following files:
- yugabyte-deployment.yaml
- template/instance.jinja
- yb-firewall-rule: This specifies which ports between the internet and GCP will be opened. Currently, this will open ports for the yb-master and yb-tserver management ports, 7000 and 9000, the YSQL port 5433, and SSH port 22.
- yb-intra-firewall-rule: This specifies which ports will be open internally between instances. Currently, this will open ports for the yb-master and yb-tserver RPC, 7100 and 9100, the YSQL port 5433, and YCQL port 9042.
- yb-instance-#: These 3 GCP nodes will specify their AZ, network connectivity, size (N1-standard-8), and startup scripts to create the YugabyteDB instance.
- instance.jinja: The specific instance file will initialize the local and persistent disks to be used as a backend for YugabyteDB–10GB for each boot disk and 50GB for each persistent disk. The default version of YugabyteDB installed is declared here as well, which at the time of this writing is 2.1.2.
Deployment Steps
Prerequisites
- A GCP account with permissions for creating compute instances and utilizing GCP Deployment Manager. GCP and Yugabyte recommend granting the “Least Privilege” possible within IAM roles. More details are available here.
- A billing account associated with the GCP project. While usage of YugabyteDB and its Deployment Manager template does not require licensing, Google Cloud resources will incur their own charges. For reference, you can see current pricing details here.
- Google Cloud SDK installed and configured for your OS.
TLDR
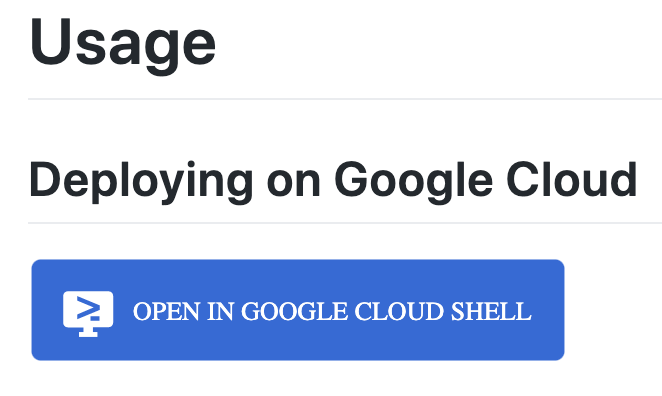
You can clone and launch our Google Cloud Deployment Manager template from within Google’s Cloud Shell right from our GitHub page. If you click on ‘Open in Google Cloud Shell’, this will launch a Google Cloud Shell with your credentials and automatically clone our GitHub repo for your usage. If you prefer to use your own environment, please skip to our Custom Environment Steps.
Custom Environment Steps
[1] Clone the YugabyteDB Google Cloud Deployment Manager GitHub repo into a working directory in your local environment:
git clone https://github.com/yugabyte/gcp-deployment-manager.git
[2] Ensure you are using the intended destination Google Cloud project:
gcloud config set project [PROJECT_ID]
[3] Launch Google Cloud Deployment Manager with your copy of the configuration YAML file:
gcloud deployment-manager deployments create yb-demo --config=yugabyte-deployment.yaml
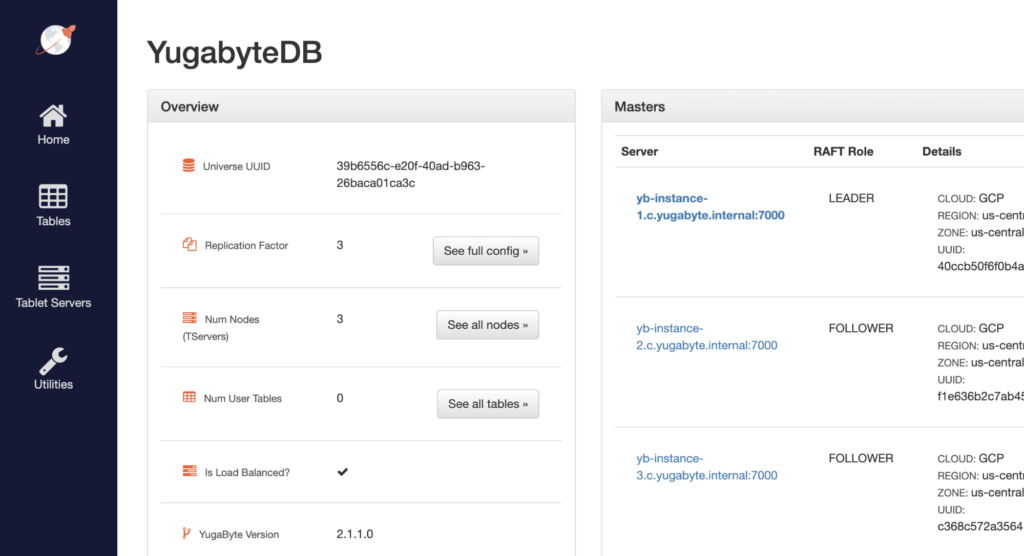
[4] After all services are started, you can access the management UI at port 7000. You can also review the services deployed or see the appropriate connection string with:
gcloud deployment-manager deployments describe
[5] You should also be able to now access a SQL prompt from your local machine by downloading the yugabyte-client package (that ships with a SQL shell).
wget https://downloads.yugabyte.com/yugabyte-client-2.1.1.0-linux.tar.gz
tar xvfz yugabyte-client-2.1.1.0-linux.tar.gz && cd yugabyte-2.1.1.0
./bin/post_install.sh (only for linux)
./bin/ysqlsh -h  -p 5433
[6] Now that you’re up and running with YugabyteDB in multiple zones, you can use any of our examples to test the distributed SQL database. For example, you could upload and experiment with the sample Northwind database.
[7] When you are ready, you can deprovision your environment easily with:
gcloud deployment-manager deployments delete yb-demo
Conclusion
This post highlights an easy way to deploy YugabyteDB on Google Cloud using a Cloud Deployment Manager template. Spinning up a scalable and resilient distributed SQL database for cloud native application development has never been easier. The example shown here can be re-used to create multiple clusters or to quickly provision and deprovision clusters for additional testing. You can also customize and update your deployment configuration using the provided YAML file as a starting point.
Stay tuned for our next post in the series, which will be for Azure.


